Mastering-Learning-Becoming Skilled At Your Own-DIY-Personal Shower Drain-Bathroom Drain-Drainage System Installation-Setup-Project
Mastering-Learning-Becoming Skilled At Your Own-DIY-Personal Shower Drain-Bathroom Drain-Drainage System Installation-Setup-Project
Blog Article
We've noticed this article about Easy Shower Drain Installation Tips down the page on the net and felt it made good sense to share it with you here.
Updating a restroom is just one of the more prominent residence renovation tasks. Managing the plumbing for draining your shower can be exceedingly basic unless you go overboard.
Handling Your Own Shower Drain Installment Task
Whether you are a bathtub or shower person, the majority of people seek shower only options when getting a house. This easy fact indicates greater than a couple of homeowners spend a weekend updating or mounting showers in their bathrooms. Luckily for you, it is a rather straightforward procedure.
A collector or frying pan refers to the straight surface area situated at the bottom of the shower. The collector usually includes a non-slip surface somewhat banked in the direction of the facility or wherever the drain is located. Combined with three to four inch walls around the side, the goal of your shower drain plumbing is to get the water to stream to as well as down the tubes.
You can physically build a collector for your new shower, yet you truly require to consider it. Do you truly wish to enter the problems of getting the sloping appropriate, in addition to ensuring every aspect of it is waterproof? And I suggest every facet! It is a lot easier to just get a pre-cast enthusiast online or at your regional Lowes, House Depot or hardware shop. Structure one may sound like a fantastic idea, but you will possibly really feel in a different way after a couple of hrs.
Despite exactly how you tackle getting a frying pan, you must make every effort to use one that has the drainpipe located in the same spot as the initial pan. Relocating the drainpipe pipes can be a job, particularly if the builder utilized a distinct framework framework. If you are determined to relocate the drain, you are going to need to cut down the pipe or lengthen it, which may imply ripping up large portions of the floor. Put another way, you are mosting likely to be checking out a multiple weekend break job.
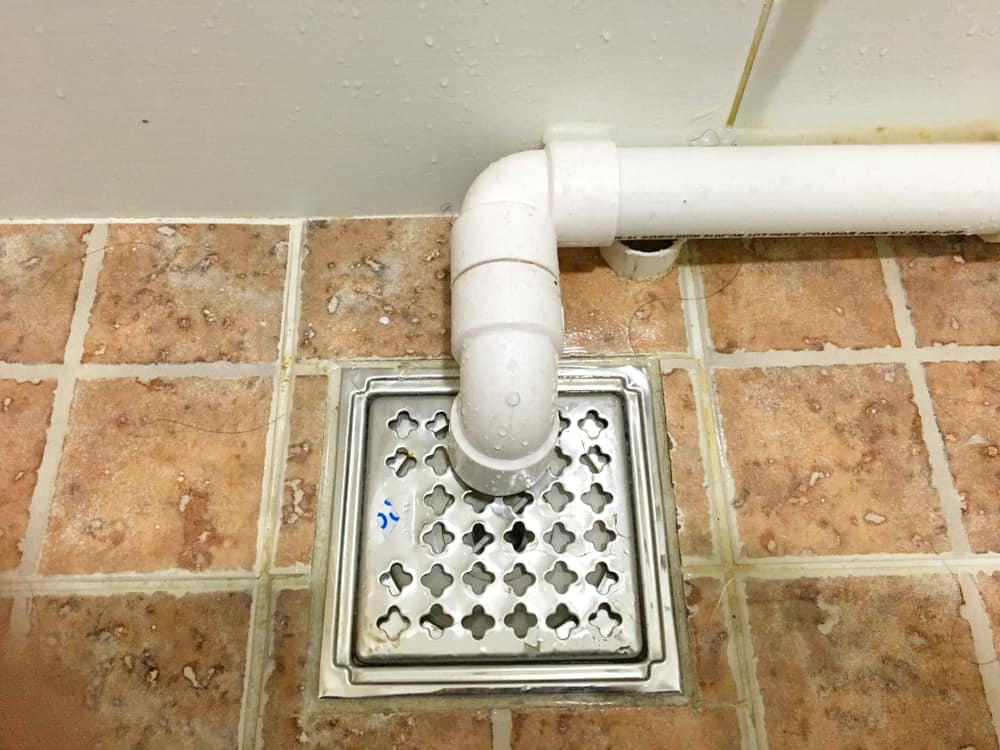
Assuming we have our drainpipe lined up, the actual connect is rather simple. The drain pipeline must be facing upright approximately the collection agency. It will certainly often look like a "U", which means it serves as a cleanout to keep nasty smells from coming back up from the drainpipe. To connect the drain, you are mosting likely to create a water limited connection between a drain cap on the top of the pan and also the drainage pipe. Solutions vary, but you are typically going to do this by placing a combining piece on the top of the drain pipeline. This is then covered with gaskets as well as essentially screwed into the drainpipe cap. The drainpipe cap should function as a locknut, to wit, it screws directly onto the coupling.
The difficult part of this process is obtaining your drainpipe cap to match a watertight setting in the pan. This is achieved by backing off the drainpipe cap as soon as you are sure everything meshes. Then, you put plumbing professionals putty around the underside of the cap and afterwards screw it back on. The putty needs to create a tight seal between the cap and also the shower frying pan, which maintains water from flowing under it and also right into the mounting under the shower.
Undoubtedly, washroom showers been available in a wide range of designs these days. If you buy an enthusiast, they almost always featured plumbing instructions or the store can note anything unusual you should understand. It seems complex, but is typically quite straight forward. Have a good time!
Tips for Installing a Shower Drain Assembly
Renovating a bathroom can be exciting as well as fulfilling if you’re tackling the job DIY-style. After you cross off the bigger decisions such as tile style, paint colors, and fixtures, you’ll need to finalize smaller details – such as the shower drain. In this article, we’re sharing some tips for selecting and installing the right drain assembly for your updated shower.
What is a shower drain assembly?
Shower bases or pans typically only come with a pre-drilled drain hole. Since the pan slopes toward the drain, you should consider the placement – left, center, or right – when designing your shower. You’ll need to purchase and install a shower drain assembly that connects the shower pan to the drain pipe underneath the shower. There are a few types of assemblies, which will be covered below.
Size of a shower drain
When it comes to installing drains, size matters. The recommended pipe size for a shower drain is 2 inches, whereas most tubs use 1.5-inch pipes. Why the difference?
Shower pans are shallower than tubs, so there’s a higher risk for overflow. So, the larger pipe allows for quicker draining. If you are replacing an old tub with a newer stand-up shower, you will need to make additional plumbing adjustments to accommodate the 2-inch pipe.
Types of shower drain assemblies
There are three common types of shower drain assemblies: compression shower drain, solvent-glue shower drain, and tile shower drain. The layout, design, and materials of your shower can determine which type of shower drain assembly will work best.
Compression shower drain
This type of assembly attaches to the drain pipe with compression washers and nuts. The drain fitting is typically installed into the base, and then the base is installed into the bathroom floor. This makes compression-style drains easier to install than other options, particularly if you don’t have easy access from the floor under the shower base. Drains are available in a wide range of materials such as PVC (polyvinyl chloride), ABS (Acrylonitrile Butadiene Styrene), and brass, and can be used for acrylic, fiberglass, and steel shower bases.
Solvent-glued shower drain
Made of either polyvinyl or ABS, this type of shower drain is sealed to the drain pipe with solvent glue and silicone. Since you’ll be working underneath the drain pan, we only recommend using this type of drain if you have access under the shower, such as from a basement or crawlspace. It’s also important that you match the type of plastic of the drain with the drainpipe. If you take these precautions, you can install a solvent-glued drain assembly with acrylic, fiberglass, and steel shower bases.
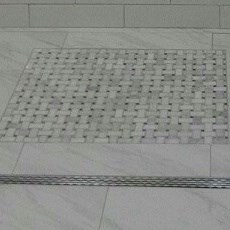
Tile shower drain –
Drain assemblies for custom tile showers feature a waterproof membrane liner placed between two flanges. The tile is installed on top of the liner, collecting any water that seeps through the porous grout. A metal strainer is installed in line with the tile over the drain.
https://www.epshawaii.com/blog/tips-for-installing-a-shower-drain-assembly/
I was guided to that write-up on How to Install a Shower Drain in a Basement through a friend on our other web property. Appreciated our piece of writing? Please share it. Let others locate it. Thank-you for taking the time to read it.
Report this page